Post Content
You would find a pop filter and foam in every podcaster’s recording ensemble. But if you are a newbie, you might not know a great deal about recording gears and how to use them. I was like you once upon a time, so I understand the confusion.
Many podcasters are confused between the functions of a pop filter and a foam.
A pop filter is used to remove plosives, the harsh sound of consonants, from a microphone recording. While foam is a kind of windscreen, which shields the mic from wind and removes airblast sounds from the recorded sound.
A pop-filter and a wind screen improve the. audio quality of your recording

What is a Pop Filter and What Does it Do?
A pop filter is a circular mesh screen placed in front of the microphone prior to a recording. As the name suggests, the pop filter’s job is to filter out popping sounds from a voice recording.
Now what are these popping sounds and how does a pop-filter control them?
The popping sounds, also called plossives, occur when you speak consonants like Ps, Ts, and Bs directly into the mic. When you make these sounds, a blast of air hits the mic which causes your voice to ‘pop-out’ in the recording. It’s harsh to hear, and you wouldn’t want it in your recording.
When you place a pop filter before a microphone, your voice hits the screen first. And the screen material, which is nylon or a wire mesh, disperses the sound before it reaches the microphone. The sound doesn’t hit the mic like a blast of air. So the plosives won’t make their way in your recording.
Plosives are a natural part of human speech. It’s just that they get magnified in a voice recording, hence you need to filter them out. The effect is more pronounced on a condenser mic; the plosives sound very harsh due to the proximity effect. Always use a pop filter while recording indoors to get a clean recording. Nylon pop-filters don’t cost much and they are easy to set up.
Here is an additional description on how to set up a pop filter correctly.

What is a Foam Windscreen and What Does it Do?
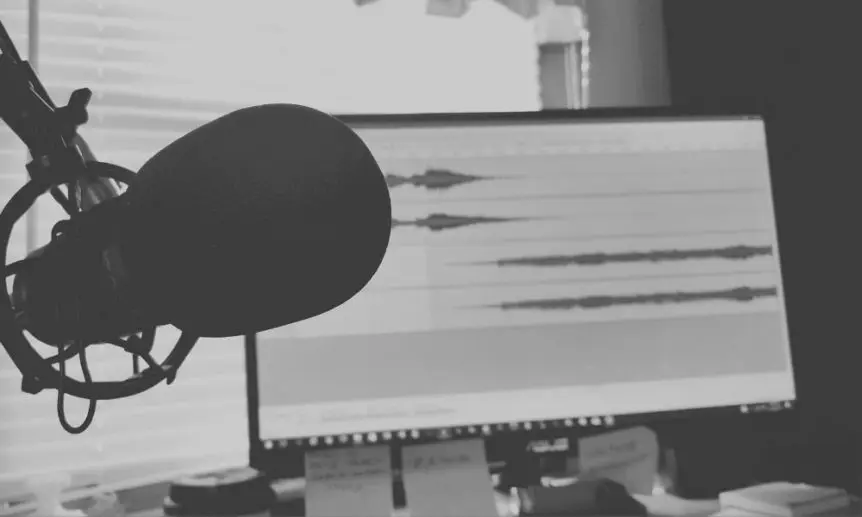
Outside mic use always a foam windscreen that precisely encompasses the entire microphone. But because this technique is so successful many mics right now, come equipped with a foam windscreen right out of the box. In the picture above you have the powerful Shure SM7B (check current price). Because it is covered with a foam screen it works great even in a slightly noisy environment.
Microphones are pretty sensitive to wind. If you record your podcast on a bare microphone, you might get a recording where your voice is inaudible due to windblast. Since the issue is fairly common, all microphones come with a foam windscreen.
A foam windscreen, also called foam (because it’s a piece of foam!) that you can simply put on the microphone. It fits the mic snugly and protects the mic capsule from windblast. If you are new to podcasting, and wondering what windblast sounds like, you can try taking your naked mic outdoors and recording a clip. You could hear a thumping sound in the clip.
Please do this only once, as it’s not good for your microphone. Prolonged exposure could also cause damage to the mic capsule. Using the foam protects this sensitive part of the equipment. Since foam comes with the mic, I don’t see a reason why you should skip this important step….(unless you misplace it!).
Manufacturers usually use open cell foam to make foam windscreen. The incoming wind moves in and around the foam structure, while the sound waves reach the mic capsule. This helps to achieve noise reduction without impacting the quality of sound. You should never skip using the foam, especially when you record outside. Otherwise, it would be very difficult to remove these noises from the podcast recording.
Foam filters are easy to set up – just slide them onto your mic. But you can additionally improve the audio quality of your recording by setting your mic correctly, e.g. properly placing it and setting your recording project the right way. Here are more mic setup tips.
| Double layer pop filter | Triple layer wind filter | Foam filter | |
|  |  | |
| universal size | universal size | always buy for specific mic | |
| check price | check price | e.g. check price for Blue Yeti filter |
Pop-filter vs Foam Filter – differences and benefits
Many new recorders often question if they need to use a pop-filter, or a foam, or both of them. Let’s compare both the equipment pieces to get a better idea.
- A pop filter is used to remove plosives, while the foam is used for protecting the mic capsule from a wind blast. These are two separate functions that cannot substitute for each other. A pop filter doesn’t protect the mic from the wind. And a foam offers a limited reduction of plosives.
- In an indoor setup, you should ideally use the combination of pop filter and windscreen foam. I don’t see why you should skip either of them, as they are easy to set up. You can’t do without a pop-filter in an indoor set-up, but it hardly takes 5 minutes to set it in place. And even if there is no air or wind inside your recording studio, the foam protectives the mic capsule from damage. You just have to put it on the mic, so do it!
- While a pop-filter plays an important role in the recording process, you cannot set it up outdoors, or if you are recording on the go. In this scenario, you would have to compromise a bit, and solely rely on your mic foam for a clean recording. You can look for other kinds of windscreen if you regularly record outdoors.
- When buying remember that pop-filters are universal and can work with any mic, but a foam filter needs to be specially made for a particular mic. Here are some examples of popular foam filters
- Shure SM7B foam filter – check current price,
- Blue Yeti foam filter – check current price.
Using Pop Filter for a Recording
A pop filter gives the desired results only when you set it up correctly. Never stack your pop filter against your mic. It should be 2 to 6 inches away from the microphone. This is necessary to eliminate the plosives.
As a thumb rule, you should maintain a distance of the size of your closed fist between the mic and the filter, and the filter and yourself. You also need to maintain the correct angle. Position the pop filter so that you speak into it; it should be at the same level as your mouth.
Before you do the actual recording, do a trial recording to ensure that you have positioned the pop filter correctly. Here is a detailed info on how to set up a pop filter.
Conclusion
If you ask which one is indispensable for a podcaster, I would vote for the pop filter. That’s because most podcasts are recorded indoors, where plosives would be a major issue. You can easily order one online if you don’t have one.
The foam cover is essential for protecting the mic capsule from elements. But it does little for the plosives. Also, it achieves less noise reduction than a blip or capsule windscreen. If you like to take your gears outdoors, I would recommend you to look into the other types of windscreens for better results.